| This article applies specifically to organizations using the HRIS Sync integration. |
Overview
In this article, we will be covering the steps needed to create a new User in SAP SuccessFactors, and limiting the permissions / scope to what is required for the use case of the company you are linking to!
Instructions
Step 1: Create a new Super Admin User that will be used to link
Follow these steps from SAP SuccessFactors to create a Super Admin user in your system that will have limited permissions / scope for the use case you are linking for.
Step 2: Create a new Permission Group
- Search up Manage Permission Groups in your search bar to navigate to the Permission Groups page.

- You will need to click "Create New" to create a new Permission Group for linking.
- You can name the "Group Name" something along the lines of "Integration Linking" to track that this Permission Group is for this specific connection.
- The User Type needs to be "Employee", and the "Choose Group Members" should include the User you created in Step 1.
- You do not need to input anything in regards to the Exclude Section, or the Granted Permission Roles at this time.
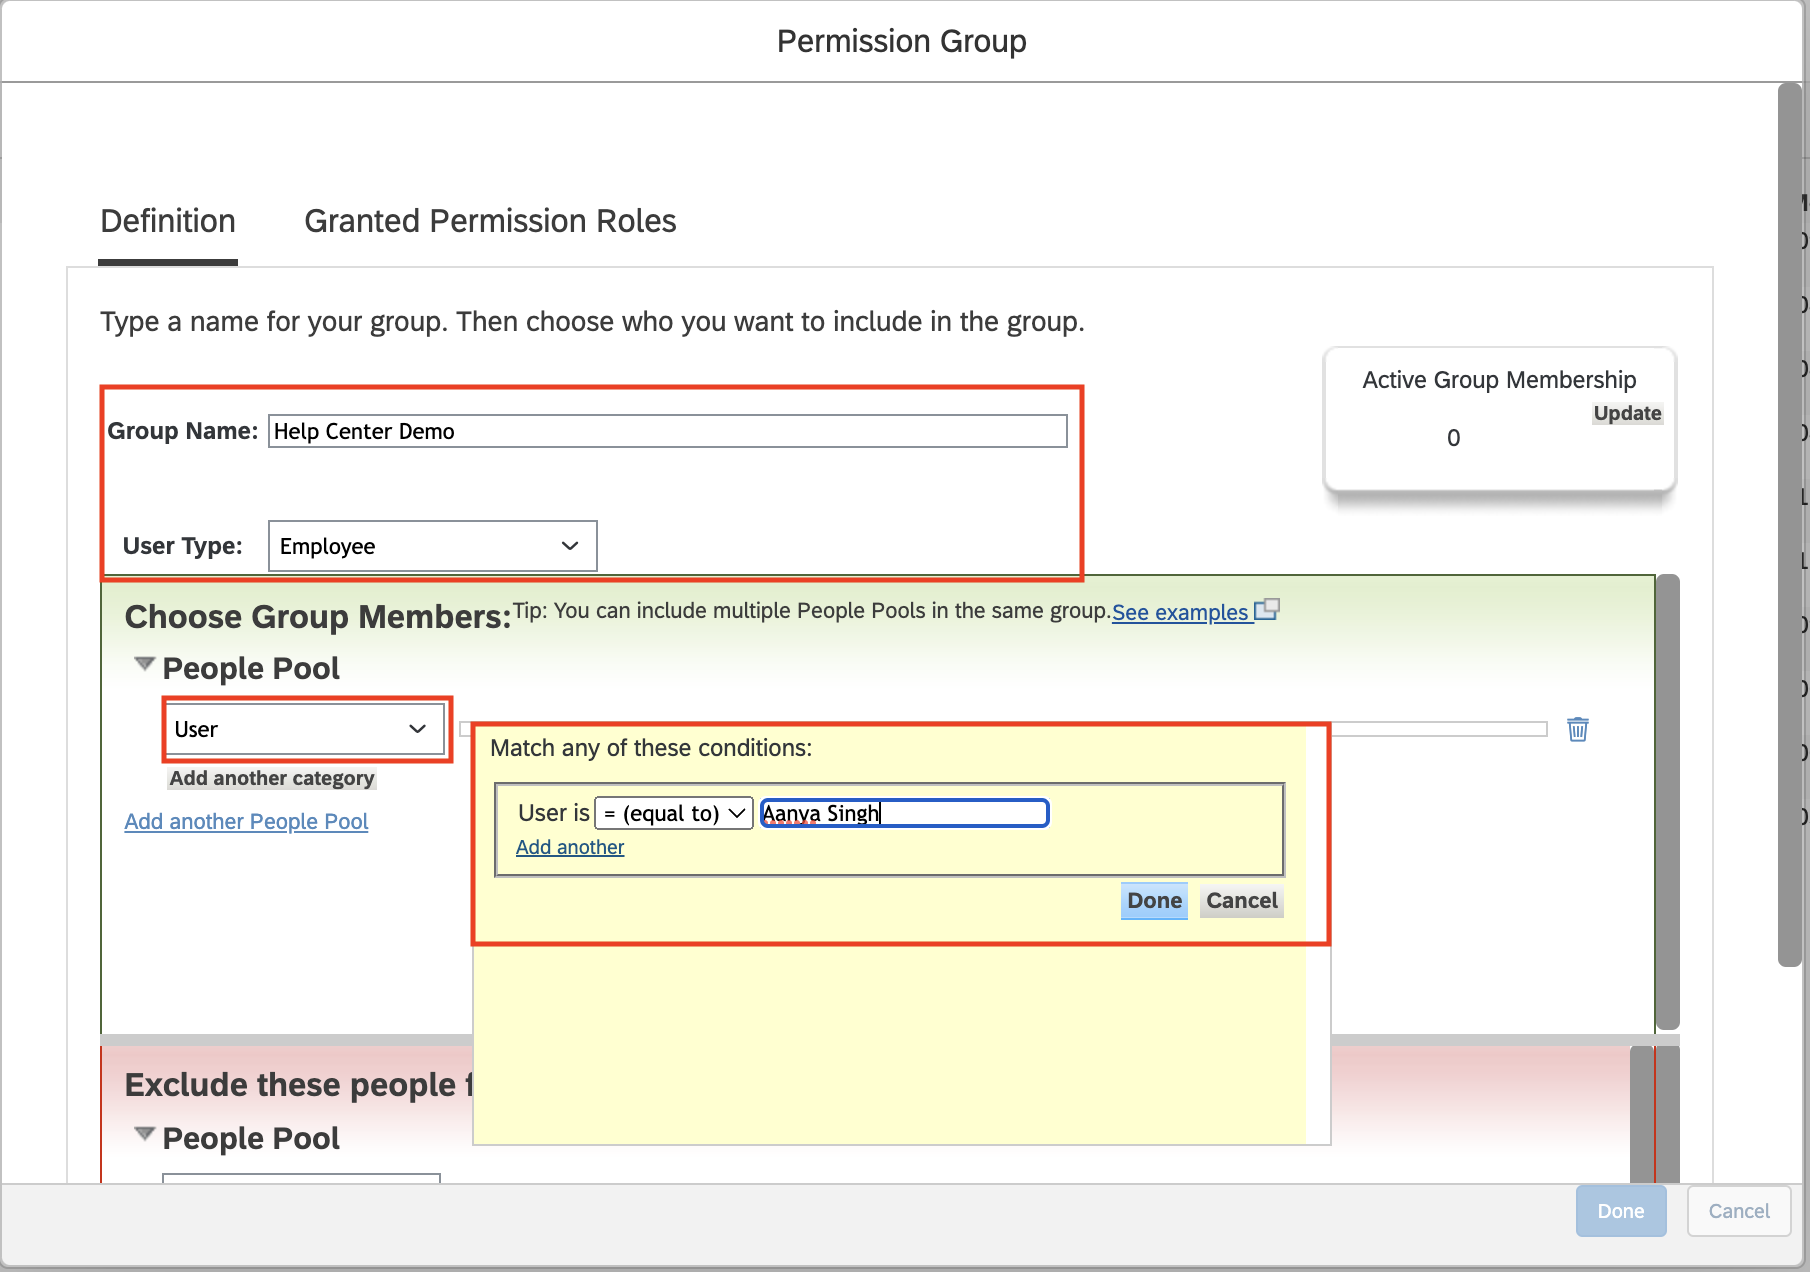
- Click Done to create and save this Permission Group.
Step 3: Create Permission Role with Proper Permissions
- Search up Manage Permission Roles in your search bar to navigate to the Permission Role page.

- Begin creating a new Permissions Role by selecting Create
- Configure the name of the Group
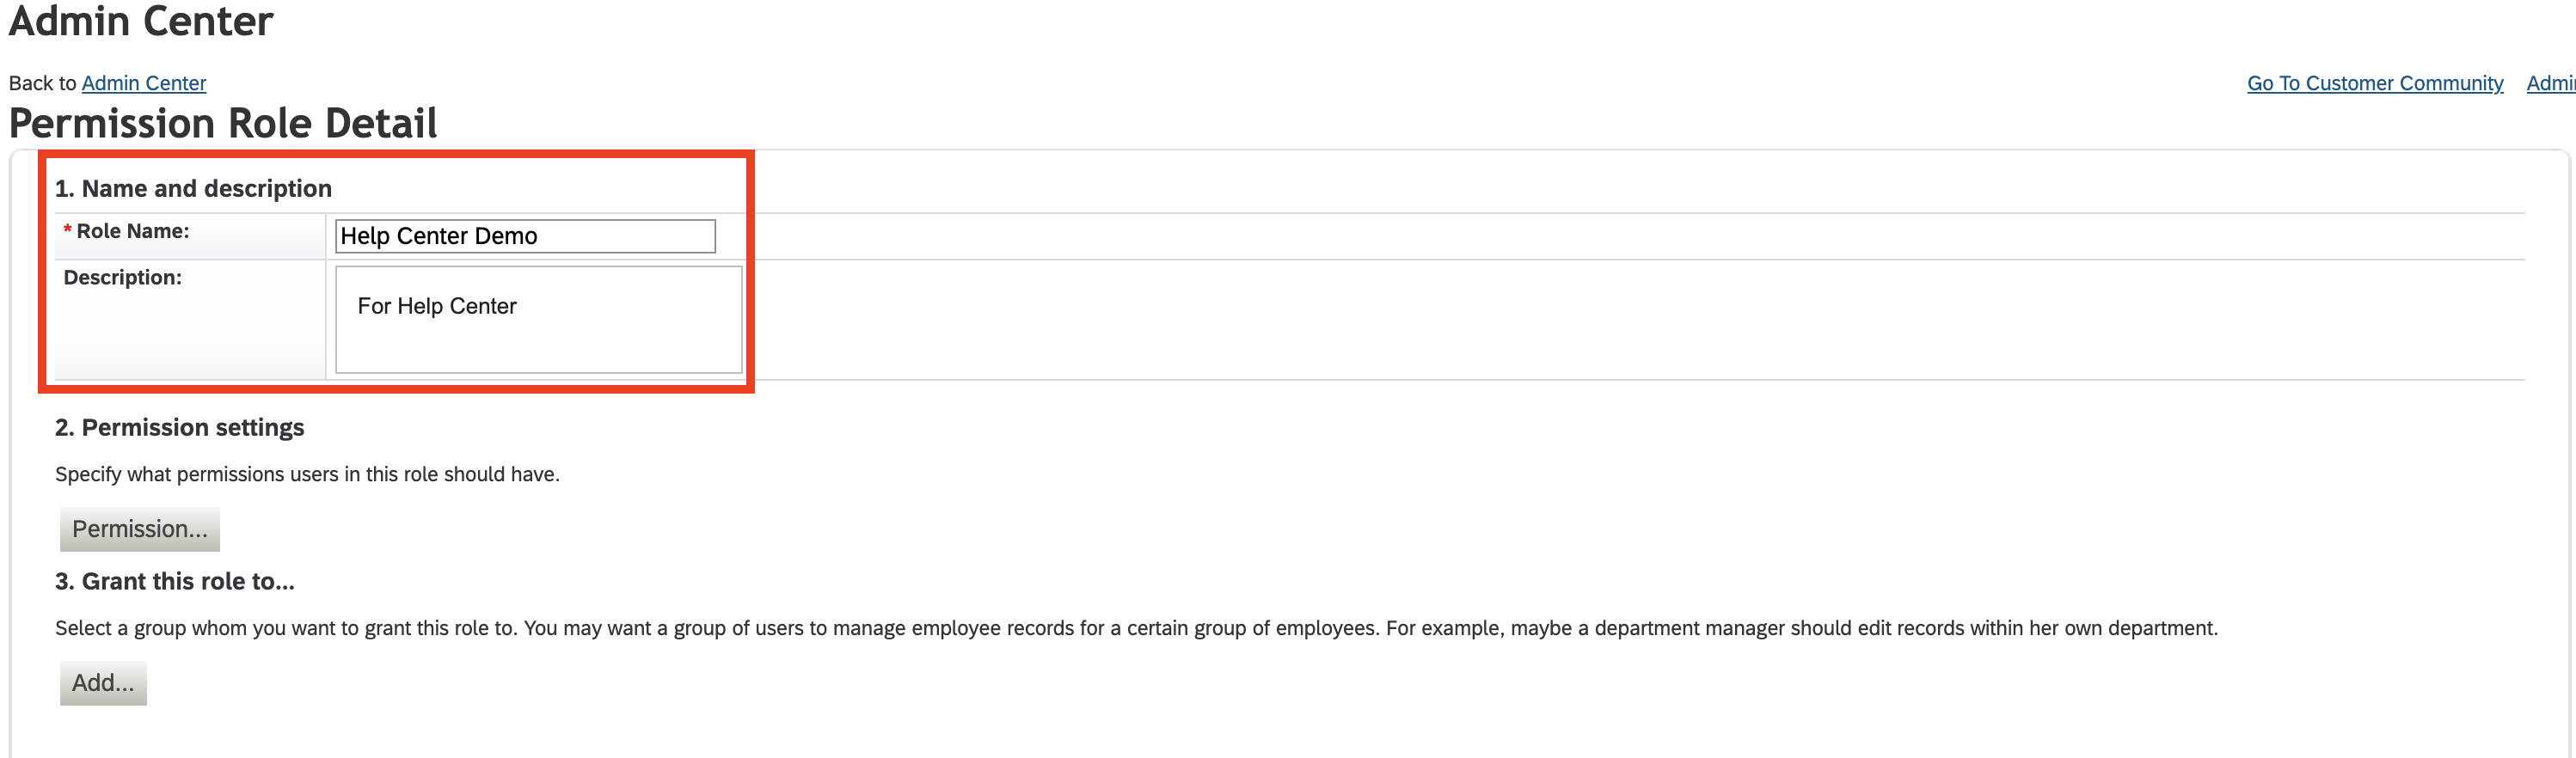
- Click "Permissions" to open available User and Admin Privileges available.
- Identify and select the permissions that matter for the use case you are trying to achieve. Details below:
- REQUIRED for General Authentication
- Manage Integration Tools
- Manage OAuth2 Client Applications
- Manager OData API Basic Authentication
- and all API + OData related pieces
- Manage System Properties > Picklist Management and Picklists Mappings Set Up
- General User Permission > User Login is required to ensure that you're able to login to integrate
- Manage Integration Tools
- Permissions for HRIS (Employee) integrations:
- Employee Data - this allows for View Access to Employee Information
- Employee Central API, Employee Central Import Settings
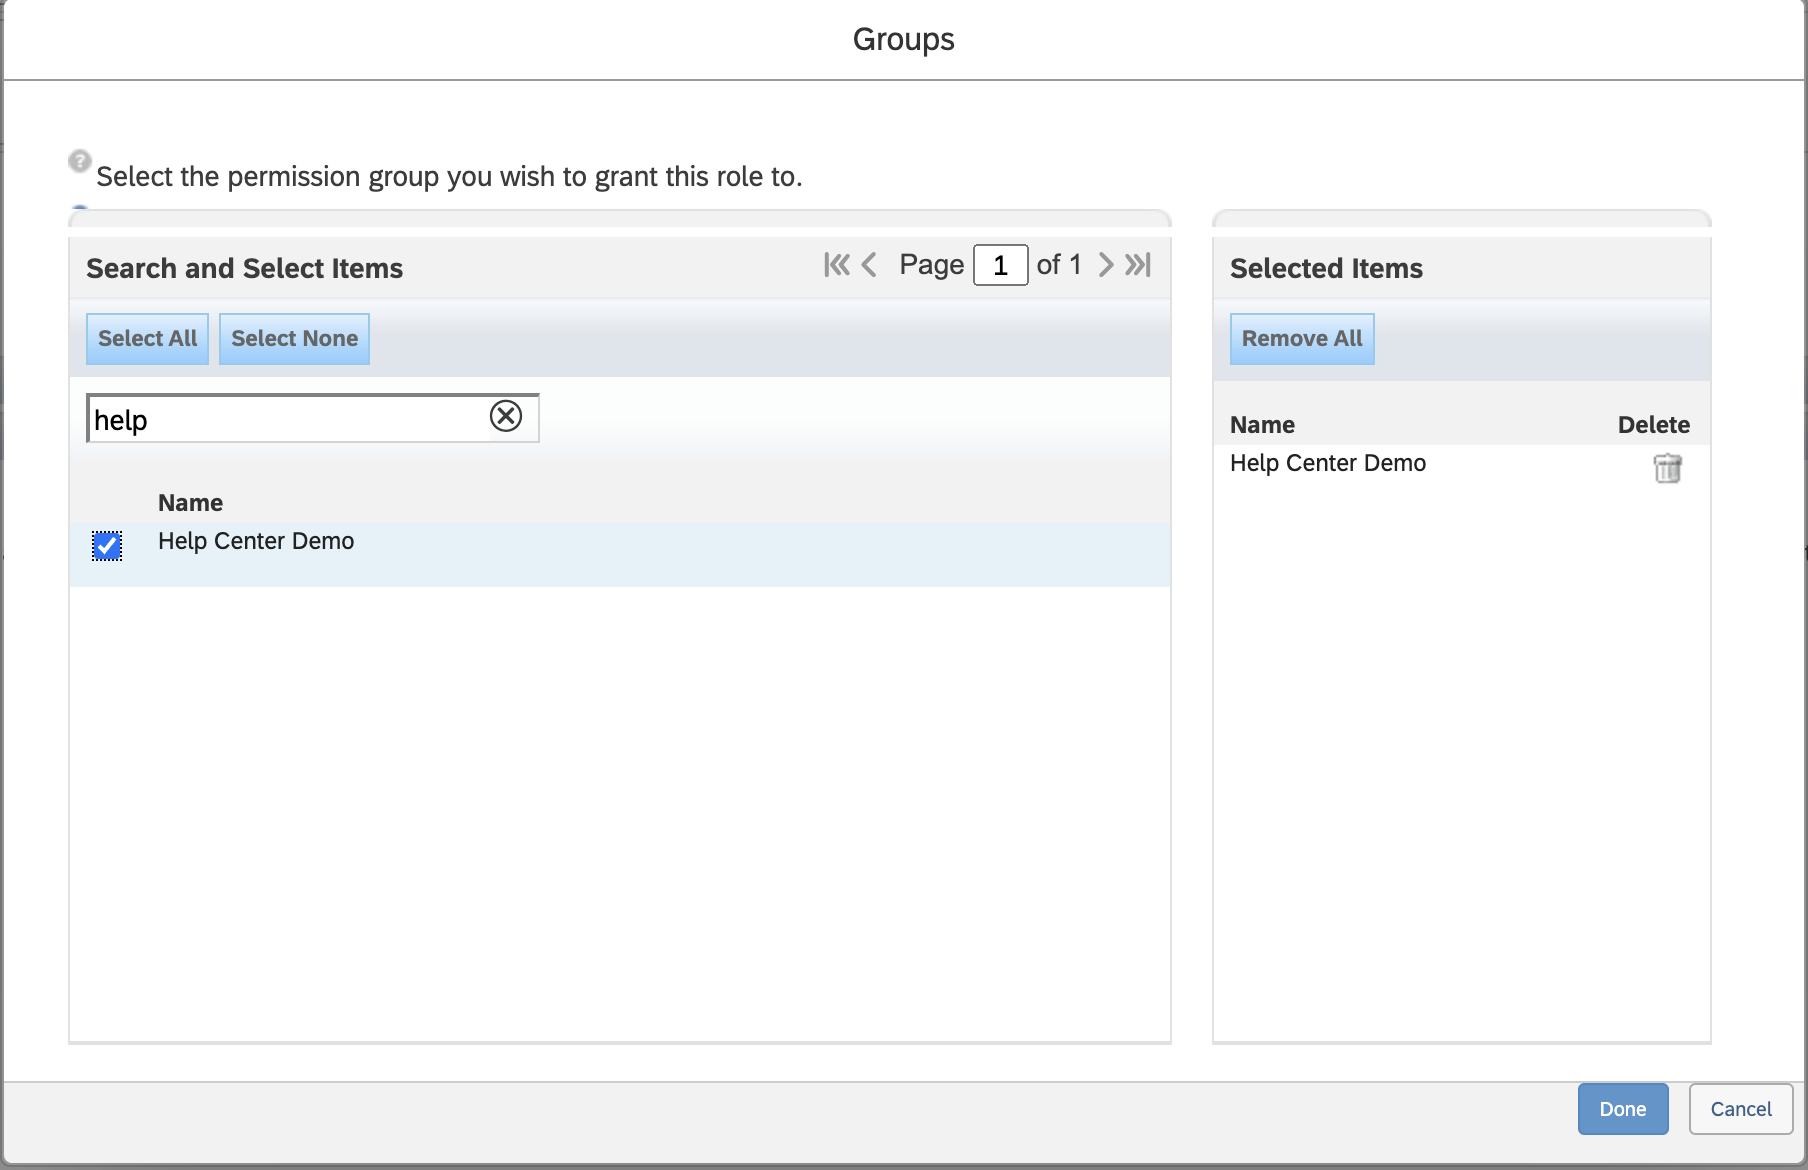
- After setting the permissions, add the Permissions group you created in Step 2 to the role by clicking Add
- You can search for the name of that Group, select it, and then press Done
- Employee Data - this allows for View Access to Employee Information
- REQUIRED for General Authentication
- Now you should save these changes as you're all set! You just need to login into the User's SAP account and generate the Client Credentials, which is described below.
Step 4: Find your SAP SuccessFactors API Server URL
- To find your API Server URL, navigate to the list of SAP SuccessFactors API Servers
- In the listed API Server URLs, search for the environment that matches your subdomain.
- For example, if your domain was https://salesdemo4.successfactors.com, search for salesdemo4.
- If you are unsure what your API Server URL is, or are having trouble connecting, we recommend reaching out to your SAP Support team to obtain your API Server URL.
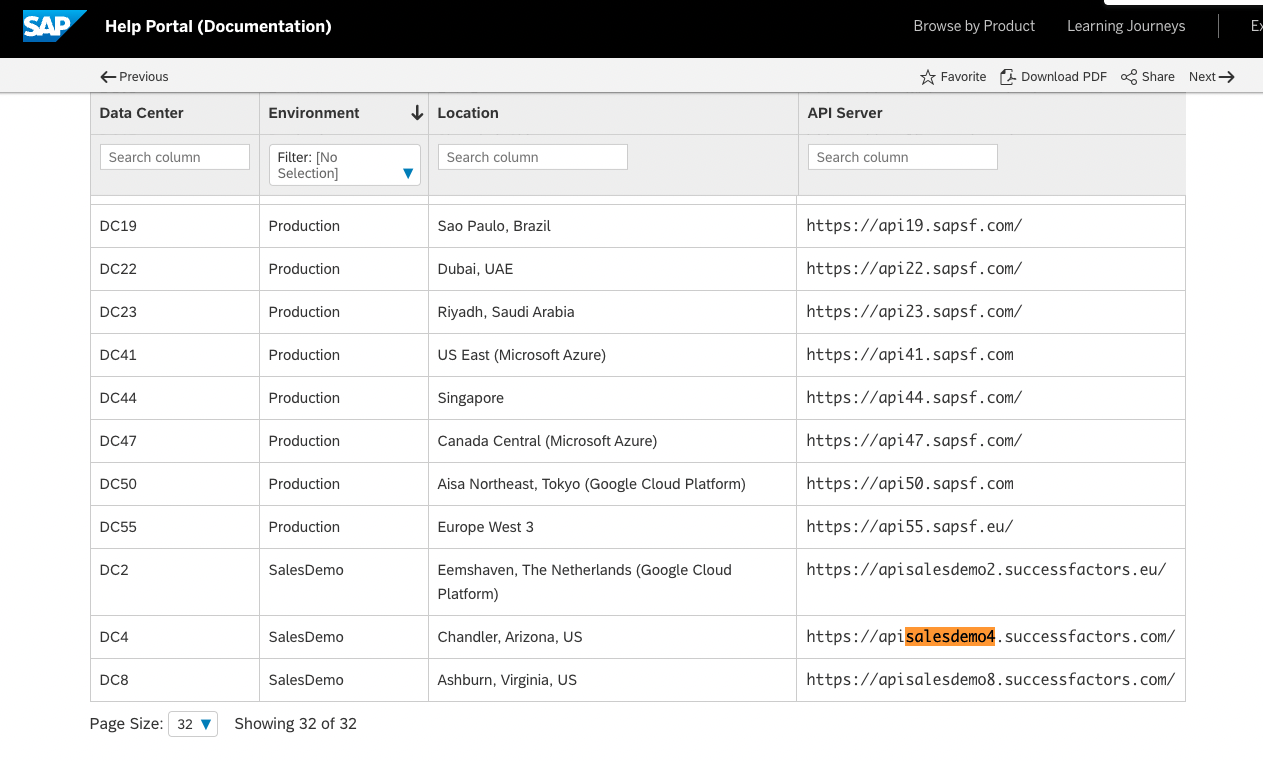
- Once you've found the URL, copy the entire URL.
- In this example, it would be: apisalesdemo4.successfactors.com
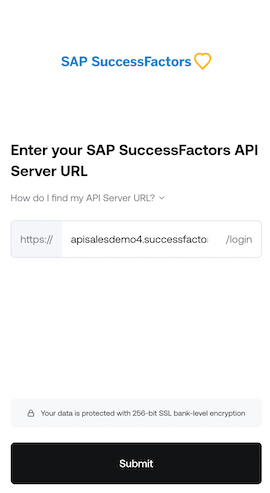
- Enter your SAP SuccessFactors API Server URL into the integration authorization component as shown below:
Step 5: Find your SAP Username and Company ID
- To find your SAP SuccessFactors username, go to the upper right hand side and click on your profile image to view your username.
- This will be the Username for the Service User you created in the first part of this guide!
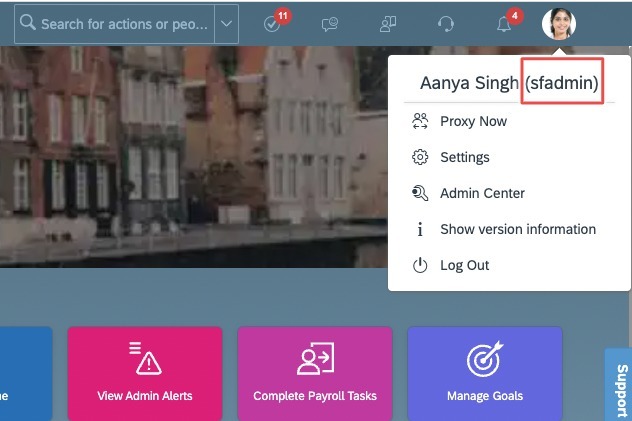
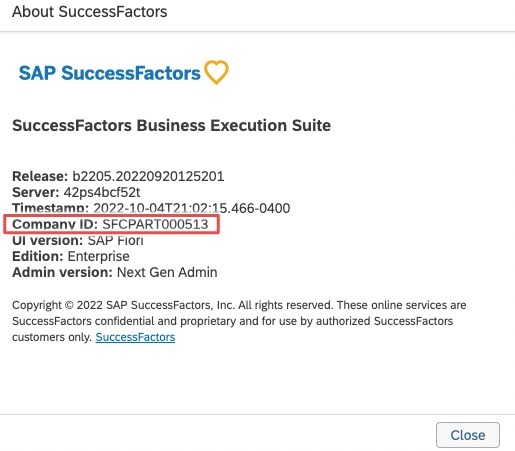
- To find your SAP SuccessFactors Company ID, in the same dropdown menu, click "Show version information." Locate Company ID in the modal that pops up:
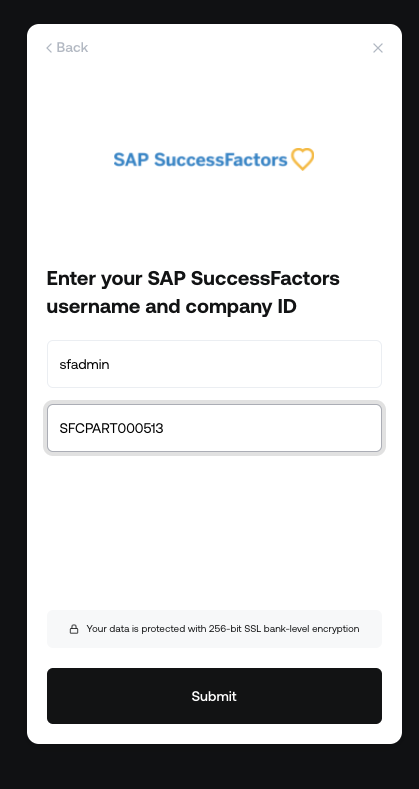
- Once you obtain your username (not email) and company ID, enter them in the linking flow as shown:
Step 6: Find your SAP SuccessFactors Client ID and Secret
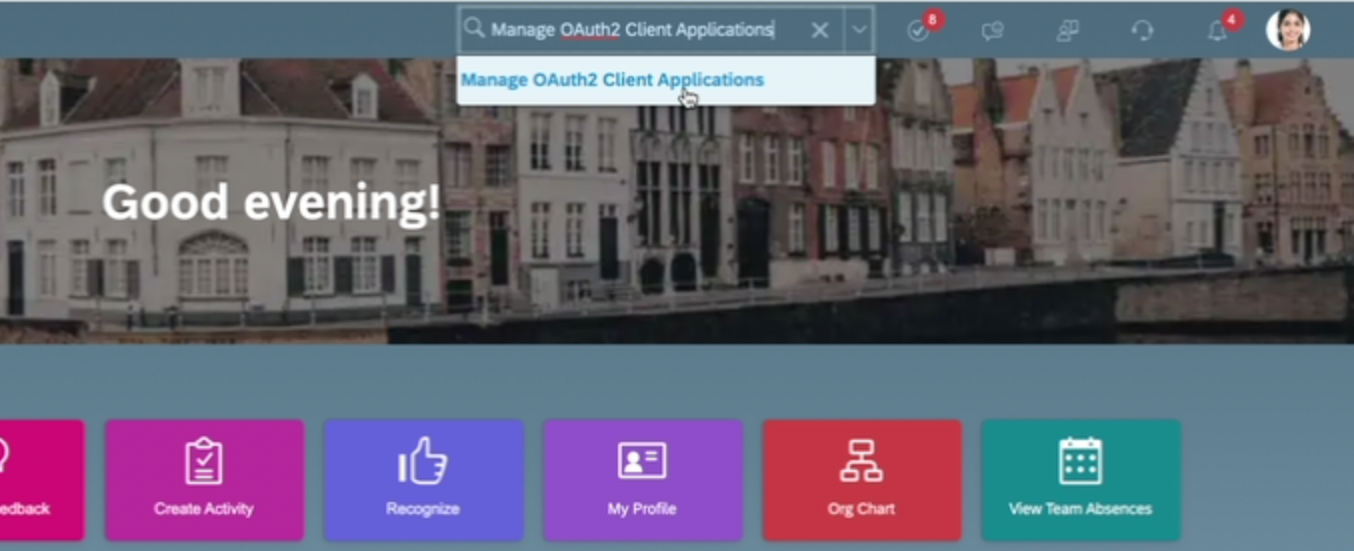
- In your Admin Center, go to Tools, and search Manage OAuth2 Client Applications (If your page looks different, search for Manage OAuth2Client Applications in the search tool on your homepage).
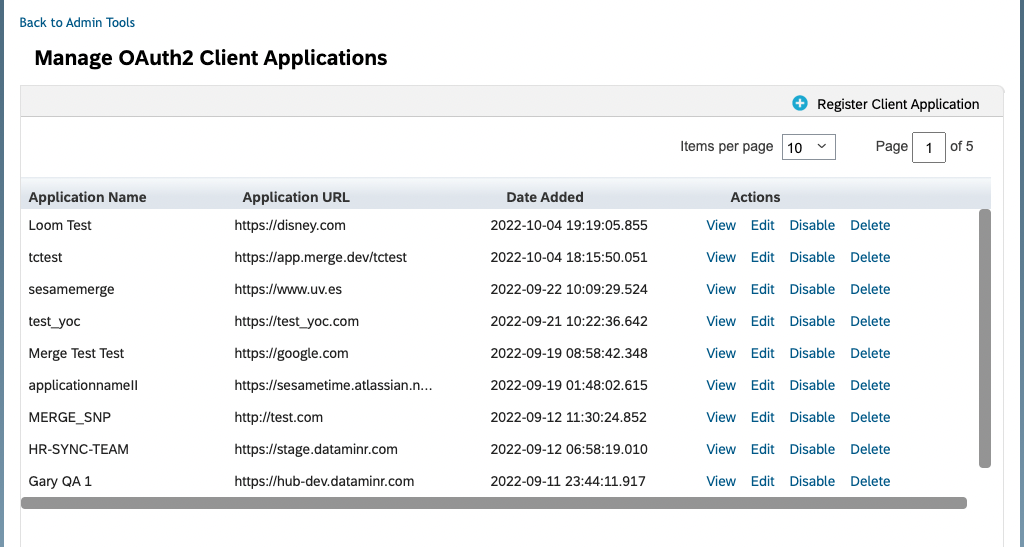
- Click Register Client Application.
- Fill out Application Name & Application URL (what actually goes in these fields is not important, except that the URL has to begin with https://).
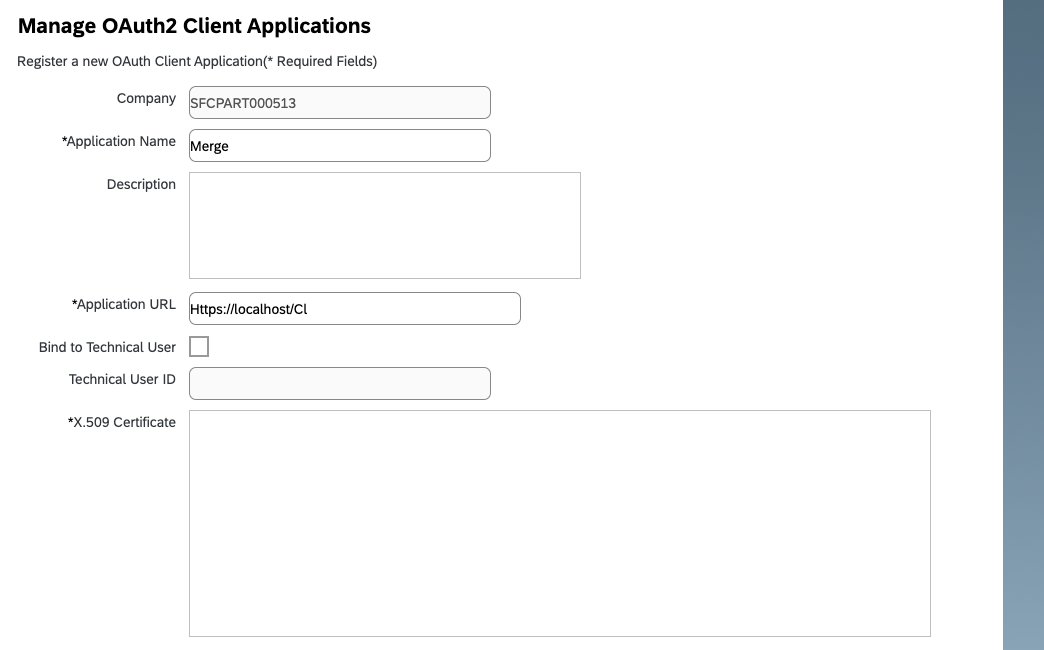
- Click Generate X.509 Certificate. Fill out Common Name (name doesn't matter) and hit Generate.
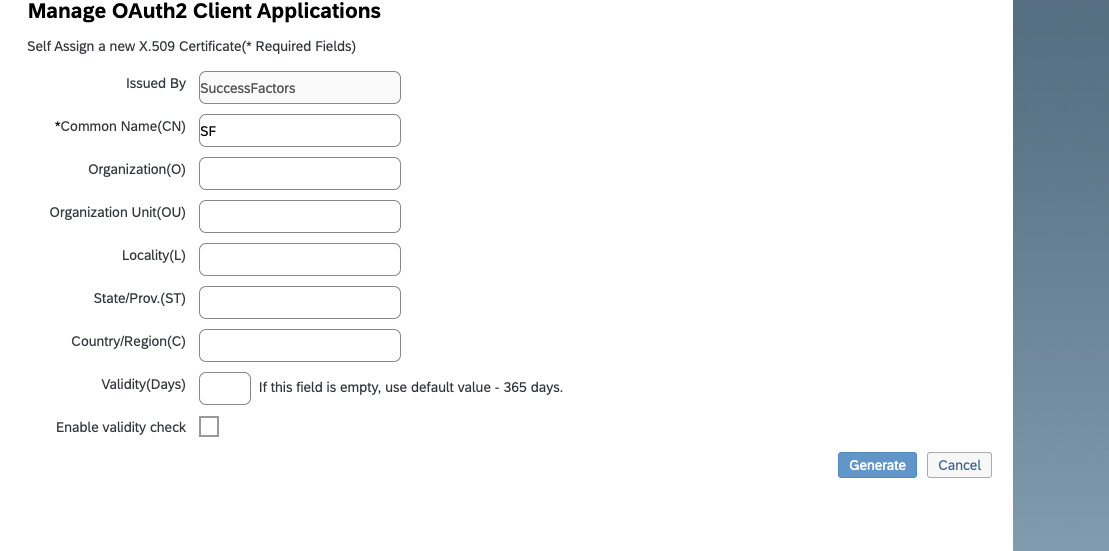
- Once the certificate populates, download and save it. You will have downloaded a file called Certificate.pem.

- Click Register (it will have replaced the Generate button).
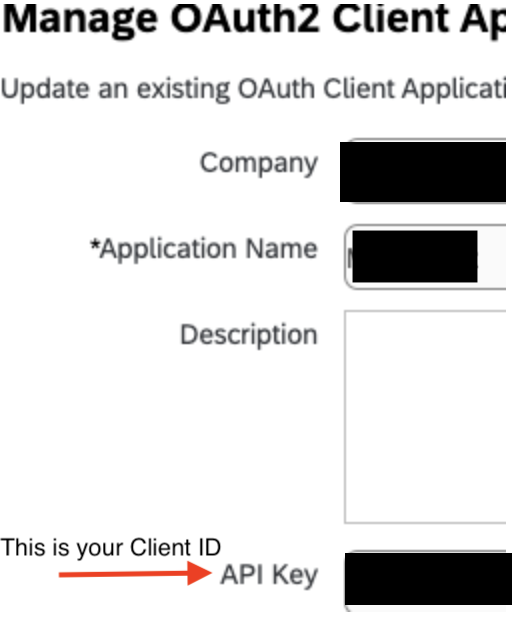
- Back on your Manage OAuth2 Client Applications, go to the application you just created and click Edit.

- You will now see an API key listed - this is your Client ID. Copy and save this Key.
- Open up the "Certificate.pem" file that you downloaded previously in a text editor. The string between ——BEGIN ENCRYPTED PRIVATE KEY——- and —-END ENCRYPTED PRIVATE KEY——- is your Client Secret. Copy the Client Secret and save.
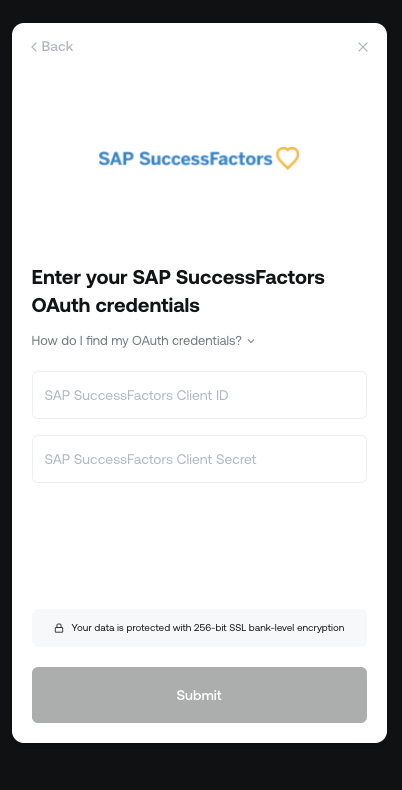
- Enter your Client ID and Secret into the integration authorization component as shown below:
If you have any questions, please feel free to reach out to us at support@contactmonkey.com